
Easy Mickey Mouse Drawing: Tutorial for Mickey Mouse Drawing Easy and Perfect for Beginners
Drawing Mickey Mouse can be fun and simple, even if you are new to art. Whether you are a child, a beginner, or just someone who loves Disney, this step-by-step guide will help you create an easy Mickey Mouse drawing. With some basic shapes and lines, you’ll be able to sketch Mickey Mouse perfectly in no time.
Why Start with Mickey Mouse?
Mickey Mouse is one of the most recognizable and loved cartoon characters in the world. His round features and simple shapes make him a great character for beginners to draw. By following this tutorial, you can learn the basic techniques of sketching while making a fun and cheerful artwork.
Materials You Will Need
Before we start, gather the following:
- A pencil (preferably HB or 2B for light sketching)
- An eraser
- A sheet of plain white paper
- A black pen or marker for outlining
- Colored pencils or crayons (red, yellow, black)
Step-by-Step Easy Mickey Mouse Drawing
Follow these steps to draw Mickey Mouse with ease:
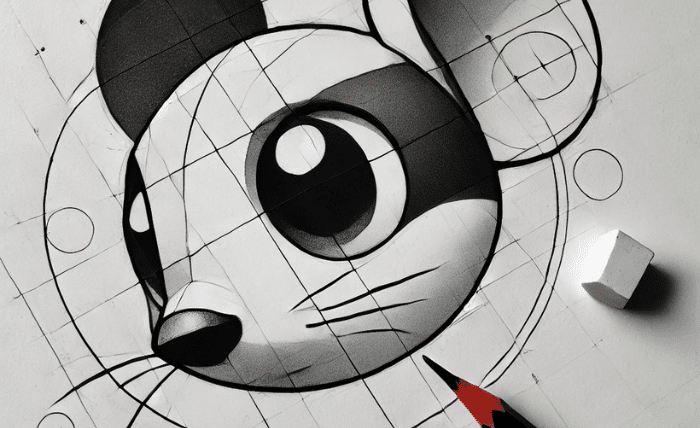
Step 1: Draw the Basic Shapes
Start by drawing a large circle for Mickey’s head. Below the head, draw two small overlapping circles to form his cheeks. On top of the head, add two smaller circles for his ears. Easy Mickey Mouse drawing can be done. These shapes create the base for your Mickey Mouse easy drawing.
Step 2: Add Facial Guidelines
Lightly sketch a vertical line down the center of the head and a horizontal line across it. These will help you position Mickey’s features.
Step 3: Draw Mickey’s Face
Use the guidelines to draw Mickey’s large oval-shaped eyes. Inside each eye, add a smaller oval to create the pupils. Draw his nose as a small oval at the center, slightly below the eyes. For his mouth, sketch a curved line forming a smile. Extend the smile with two small curved lines to show his cheerful expression.
Step 4: Refine the Ears and Head
Make sure the ears are perfectly round and connected to the head. Smooth out any uneven lines on Mickey’s face and cheeks. Easy Mickey Mouse drawing can be done.
Step 5: Draw Mickey’s Body
To make the drawing complete, add a small oval below the head for his body. Draw two long, thin rectangles for his arms and two short rectangles for his legs. Add circles at the ends of the arms for his hands and ovals at the ends of the legs for his shoes.
Step 6: Outline and Add Details
Go over your pencil sketch with a black pen or marker. Add details like Mickey’s gloves and shoes. Don’t forget the iconic buttons on his shorts. Then easy Mickey Mouse drawing can be done.
Step 7: Color Your Drawing
Use colored pencils or crayons to bring Mickey Mouse to life. His shorts are red, his shoes are yellow, and the rest of his body is black.
Pro Tips for a Perfect Mickey Mouse Drawing
- Always start with light pencil strokes so you can erase easily.
- Practice drawing circles and ovals before starting Mickey Mouse. These shapes are the key to his design.
- Take your time with the outline. A steady hand will make your drawing neat and professional.
Fun Facts About Mickey Mouse
- Mickey Mouse was created by Walt Disney and Ub Iwerks in 1928.
- Mickey was the first cartoon character to have a star on the Hollywood Walk of Fame.
- His famous gloves were added to make his hands easier to animate.
Where to Use Your Mickey Mouse Drawing
Once you’ve completed your Mickey Mouse easy drawing, you can use it in many ways:
- Decorate your room by framing your drawing.
- Create a fun birthday card for a friend.
- Use it as a coloring sheet for kids.